The problem with the Lenovo X240 Touchpad

Introduction
As introductions go, the preamble here is pretty simple.
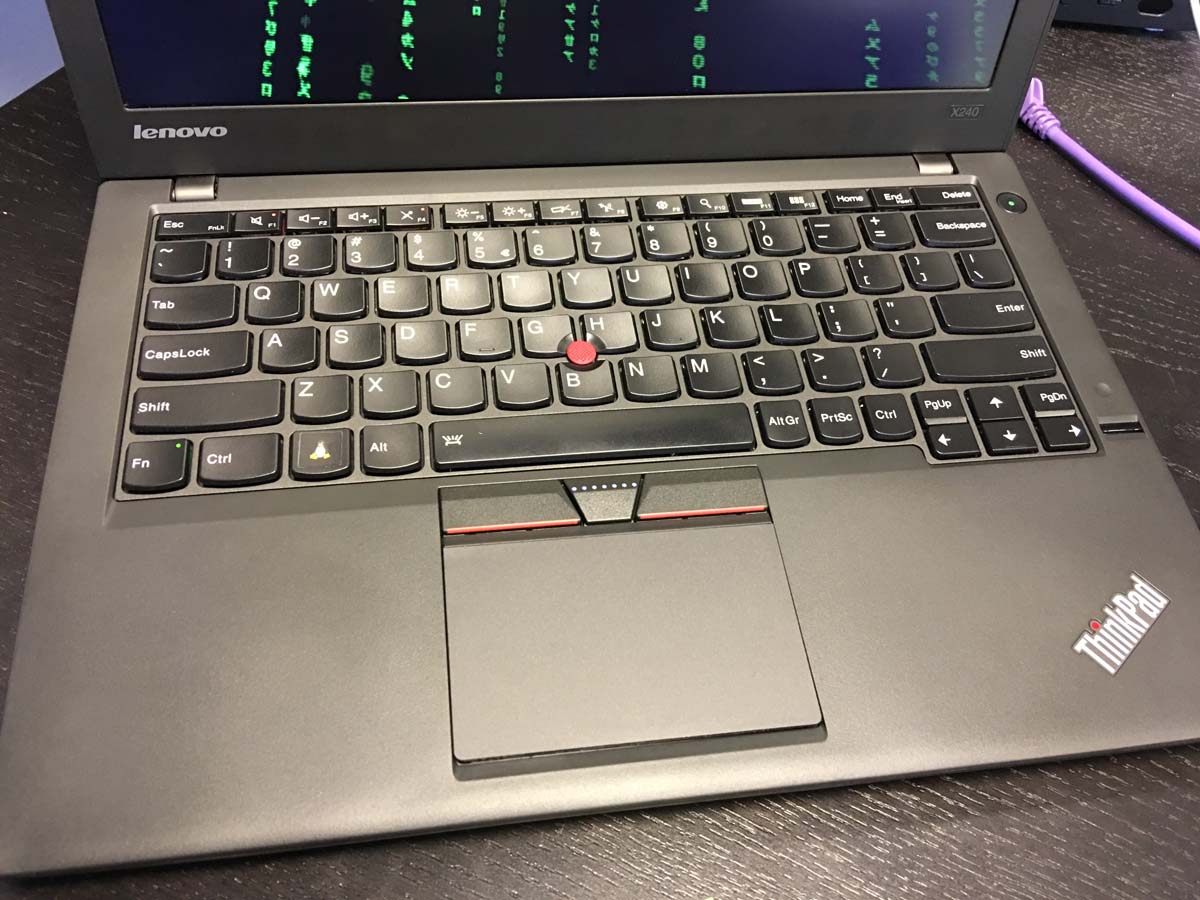
Lenovo made a nice portable laptop called the X240 (since replaced by the X250) - I have one, with 2 extra capacity batteries, for the most part it is amazing - good power for it's size, full HD Screen, light weight, batteries last ~12 hours, I can charge it in the car or on a plane, has a 4G modem.
On the downside the touchpad/trackpad is a pile of sh*t. So much so that I actually stopped using it. ~5mm of travel, clunky and loud with some weird virtual soft buttons near the top for the trackpoint.

Since then the newer lines of laptop (X250 and others) have a much nicer touch pad, with very limited travel, a nice crisp click and separate buttons for use with the trackpoint:
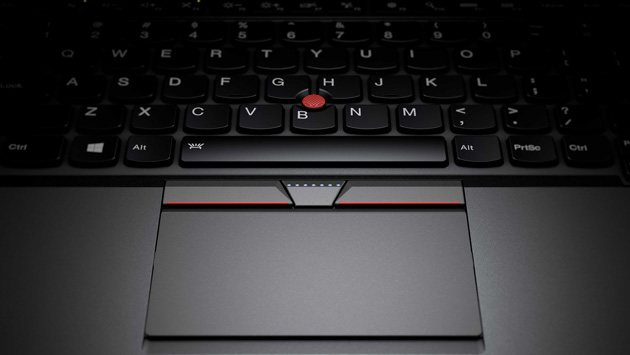
We have a few of the newer T series at work so I was certain these new touchpads were better.
What Next?
After a while of using the laptop I was fed up with the touchpad, clunking away in meetings and being overall annoying - so I did some research. This was made easier due to many others having the same complaint!
I found out that the X240 and X250 are near identical with regards to shape, size, form factor, etc, and as a result the touchpads are technically interchangeable.
There are however two challenges with this, first - the touchpad is glued in, so it must be pried out and reattached. Second, getting hold of a genuine one is challenging - I found lots of 'compatible' ones, but as the exercise was to improve my pointing experience I was wary of 3rd party hardware. Based on what I read there were also some tricks required to reattach the ribbon wire.
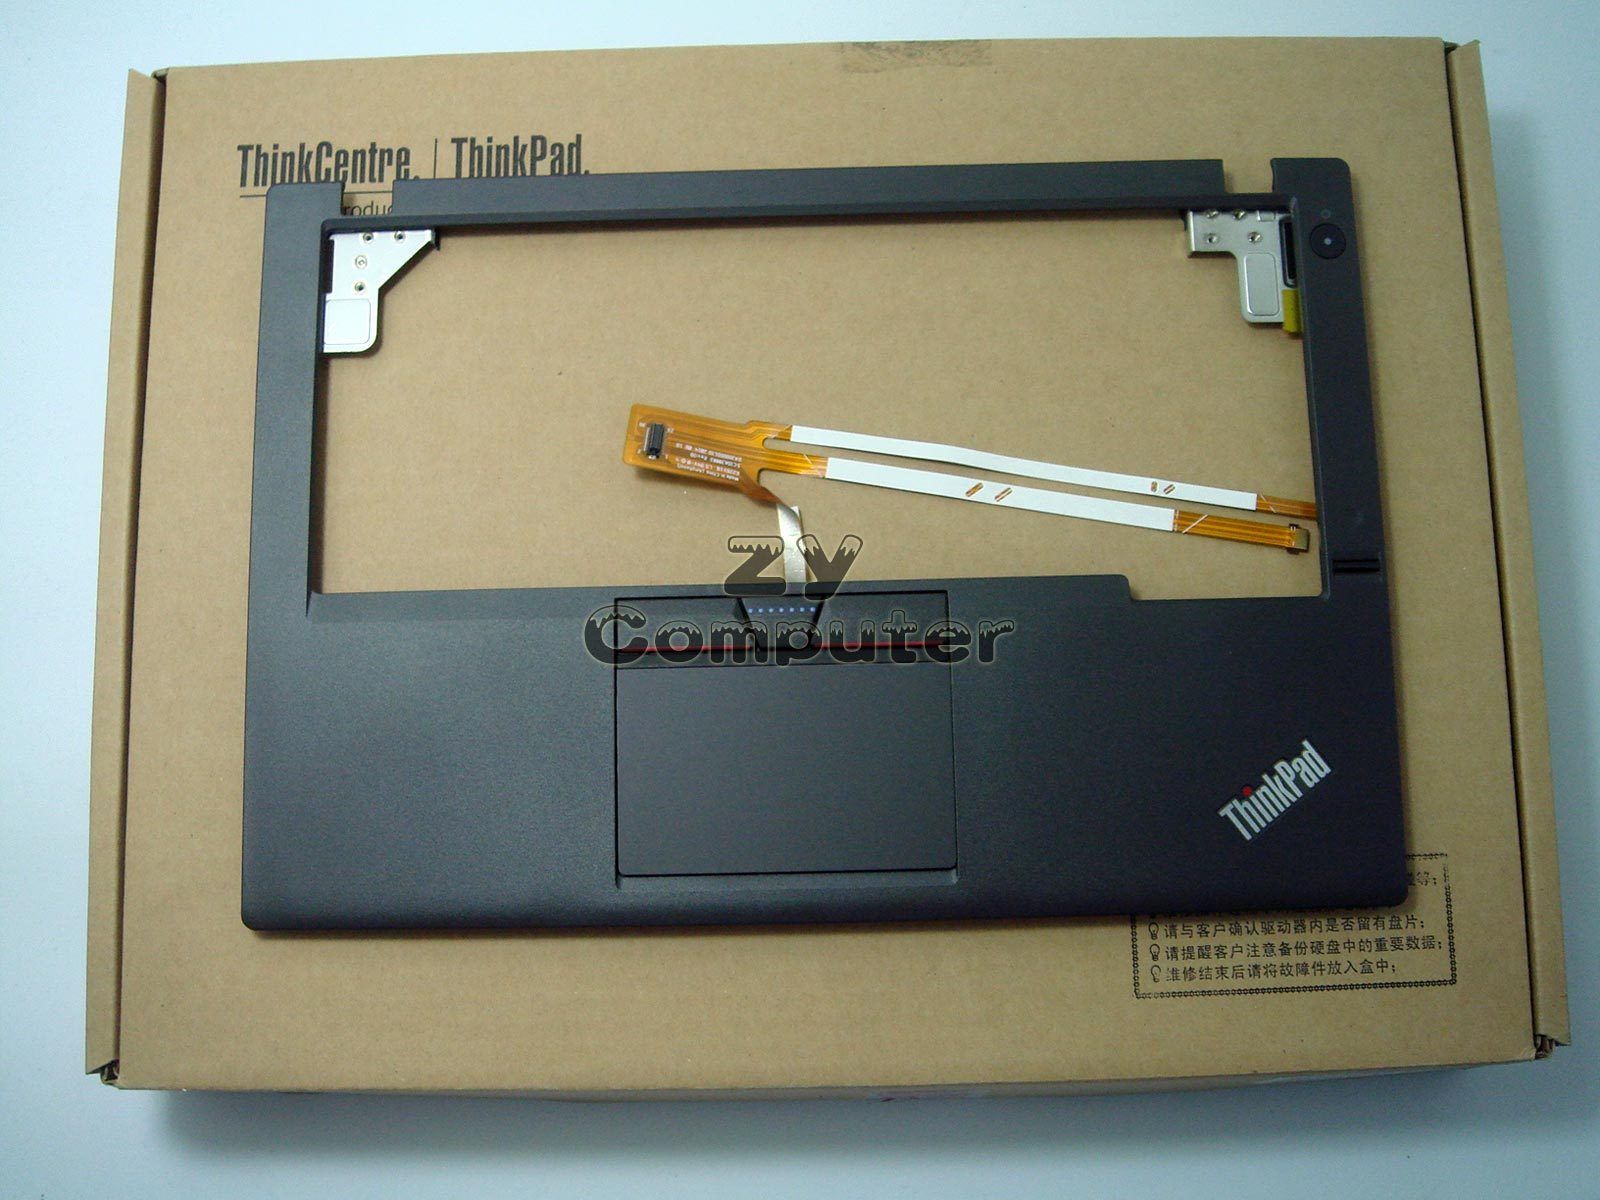
As the X240 and X250 are so similar the other option is to replace the whole upper plastic, keyboard, and touchpad. A genuine part was slightly easier to source on eBay (with fingerprint reader too). A user who had done this and posted their findings online noted it was particularly tricky and should only be attempted by someone with skill and experience at this sort of repair. The part number is 00HT390 (often mis-listed one way or another - so be careful).
So, naturally not being keen on prying and re-glueing the touchpad, and having never completed such intricate surgery on a laptop before, I decided the latter was clearly the best option (having successfully replaced the SSD with a larger one before...).
The part I ordered from ebay cost $88 USD and looked like:

Surgery
I decided to spend a Friday morning trying to complete replacing the part - which was more akin to transplanting the laptop.
The result was success, but the process was very tricky, everything is attached to the upper plastic - the motherboard, the screen, the base, EVERYTHING!
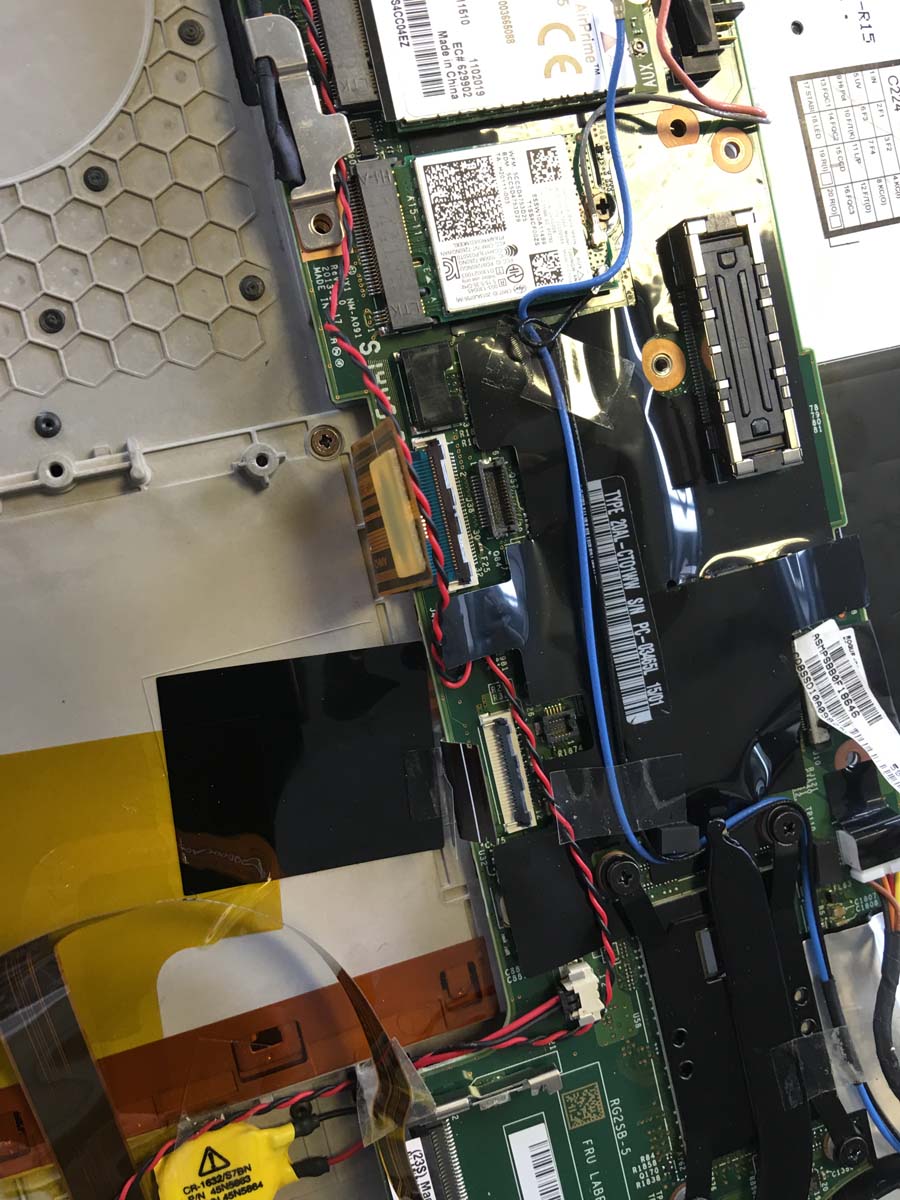
Additionally the ribbon wires on the new part all needed folding to match the position and angle of the connectors on the motherboard - I was quite worried about breaking them doing this.
I was doing this in the office and a number of my peers made comments about 'open heart surgery' and remarking they were glad it wasn't them or their laptop...
I took a lot of pictures at various stages, just incase I couldn't find out where screws, cables, etc lived when re-assembling. This proved very useful.
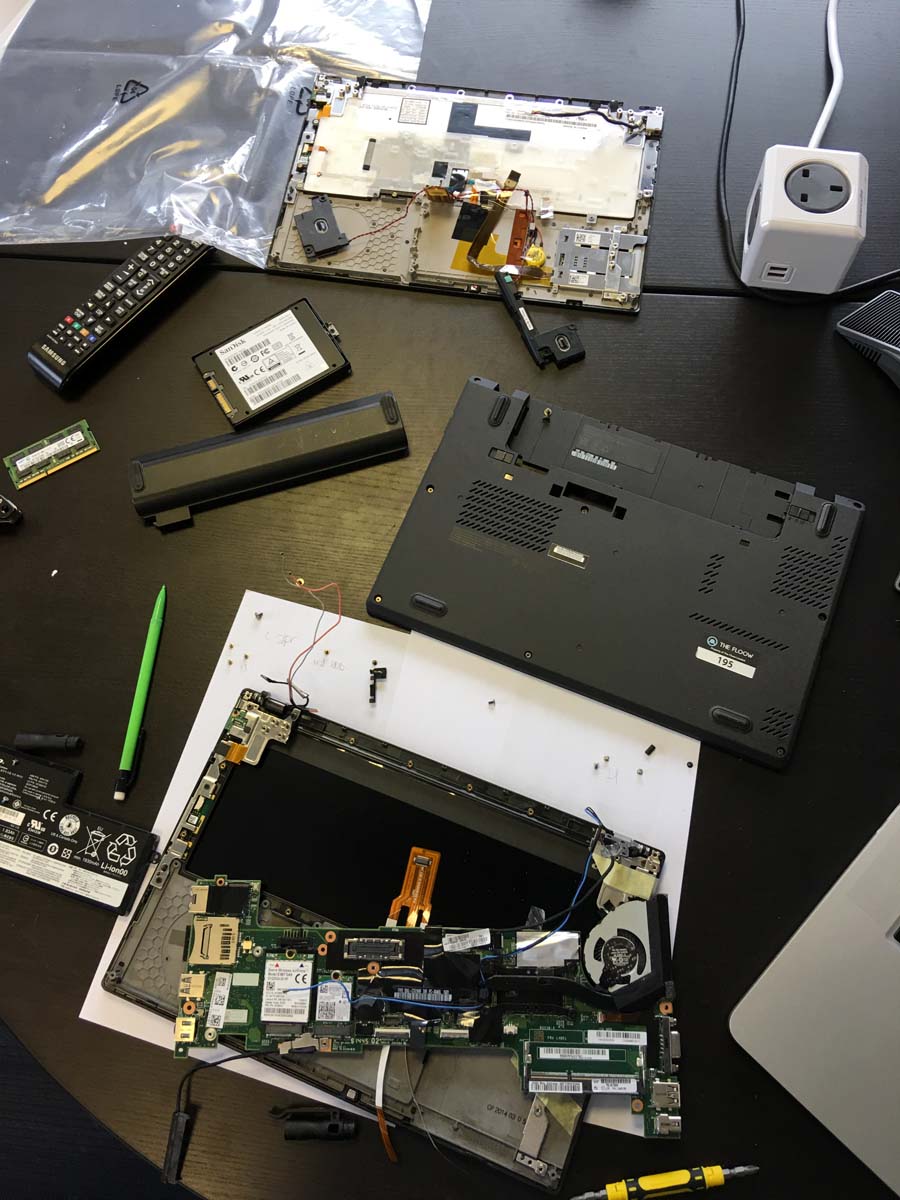
Before all the fun:
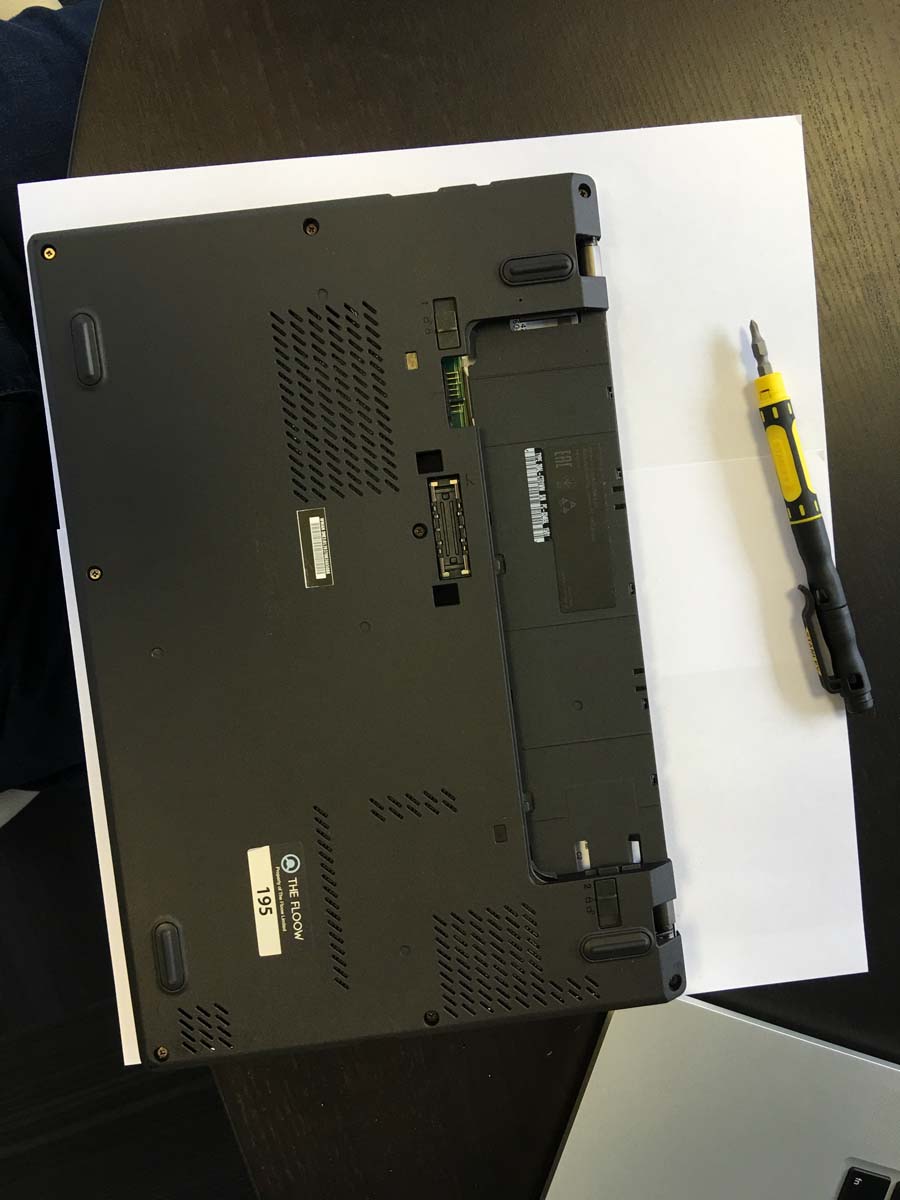
Removed the SSD:
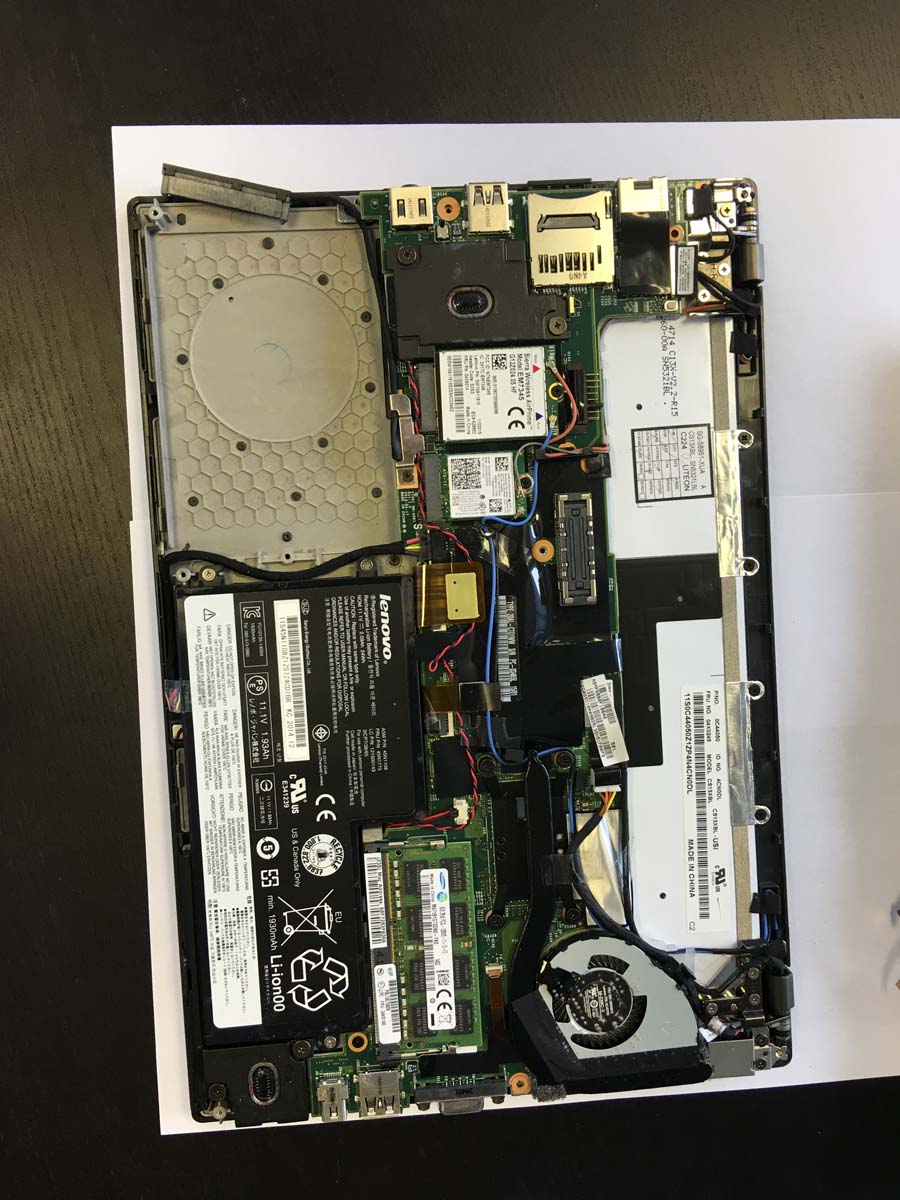
And the battery:
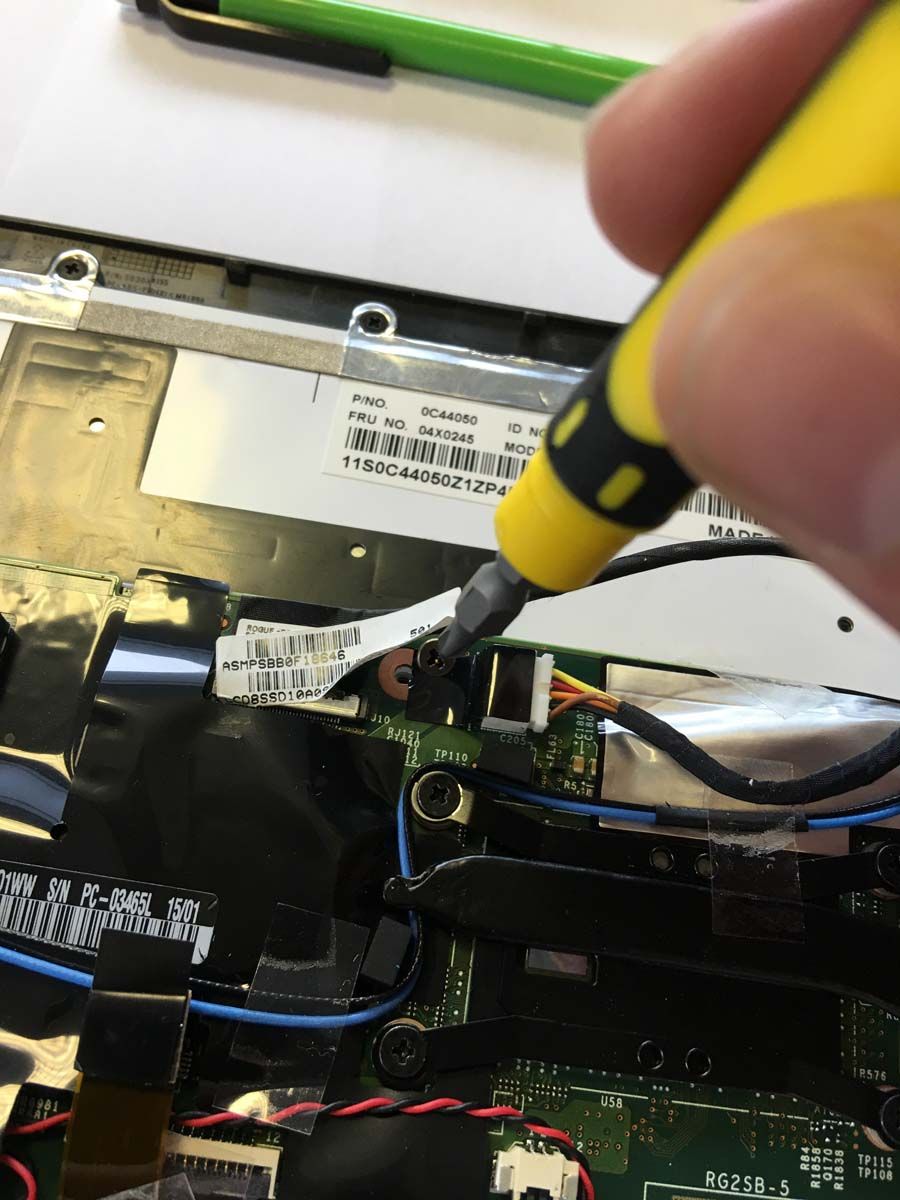
Screws:

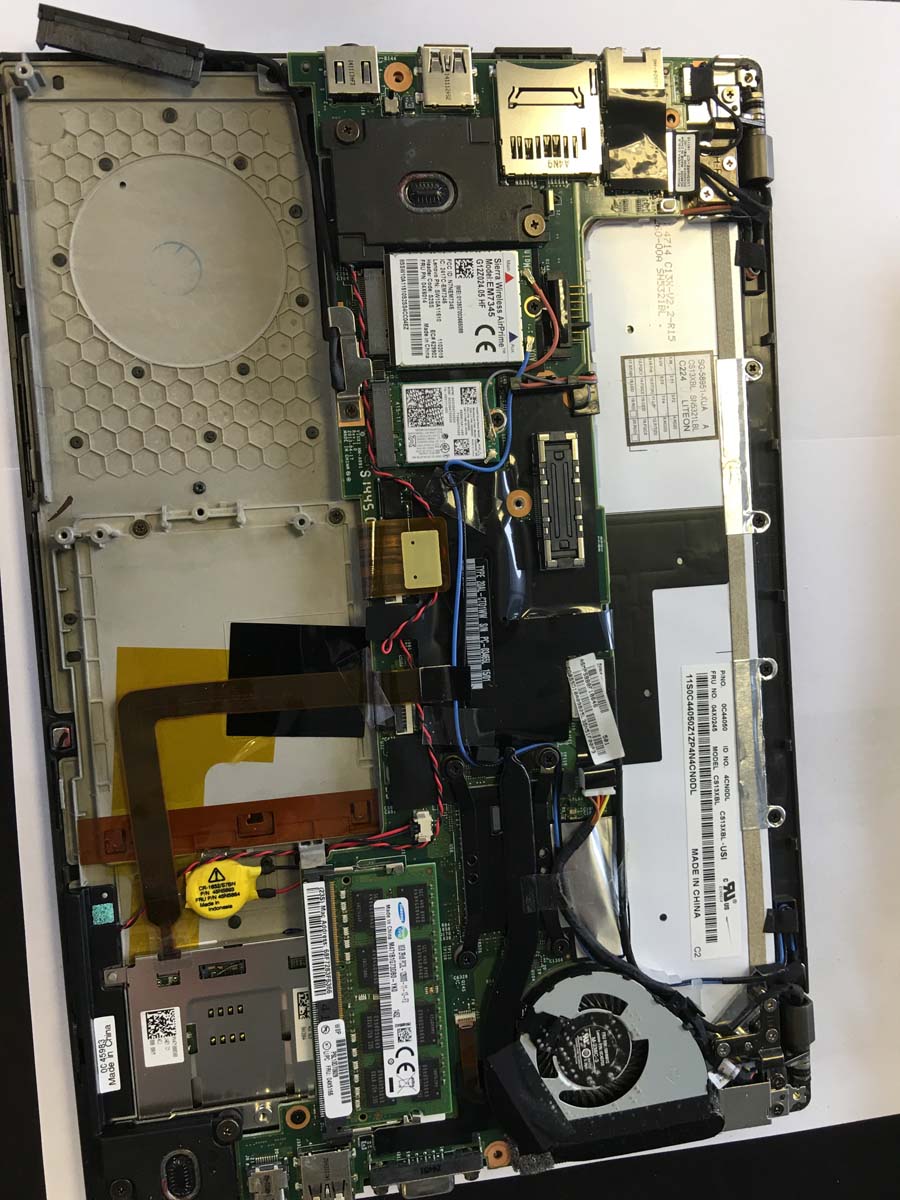
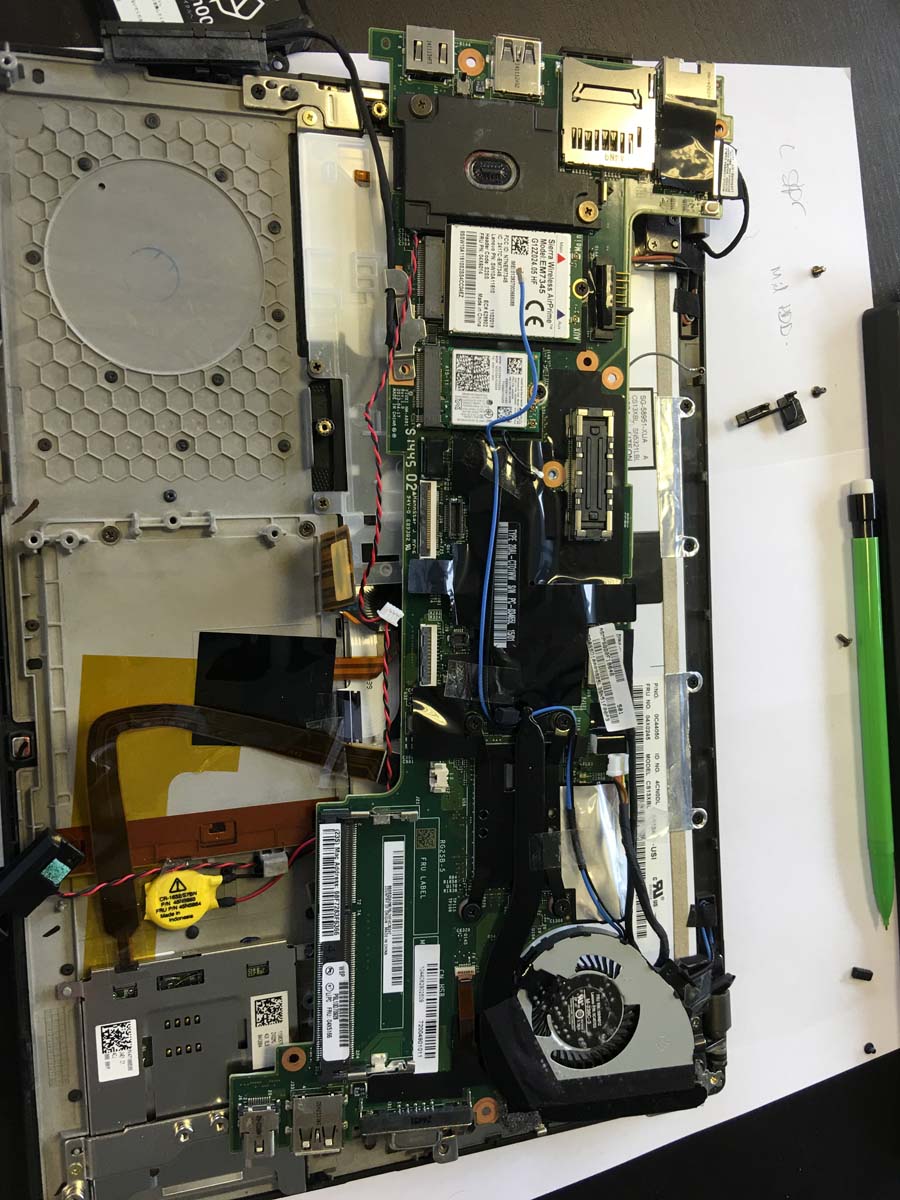
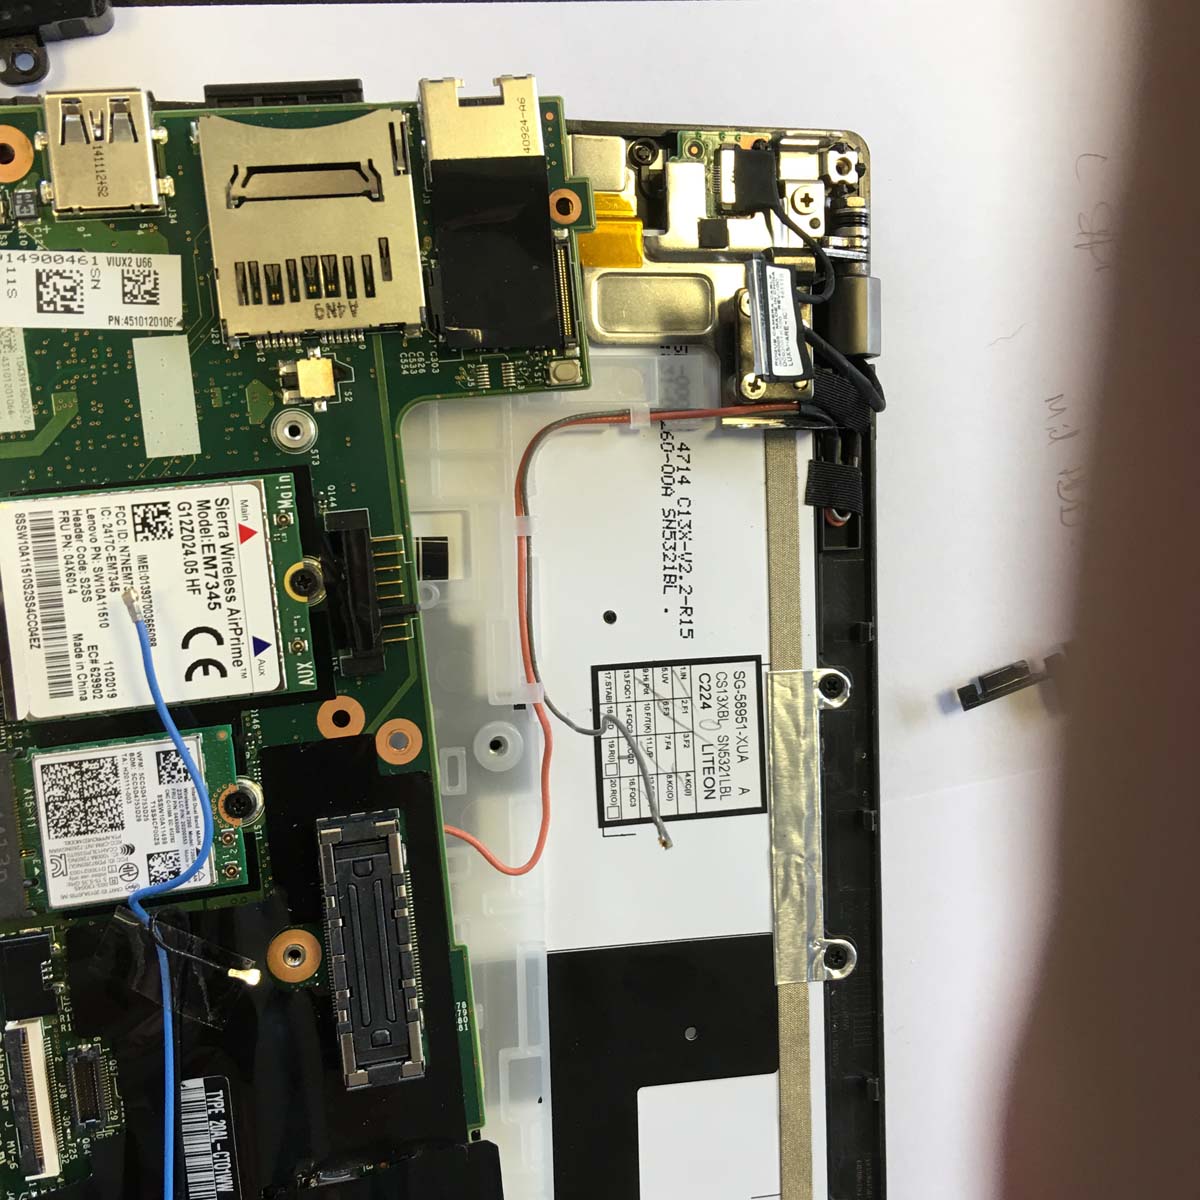
And antenna wires:

More wired and ribbons:
Loose board:
Hinges:
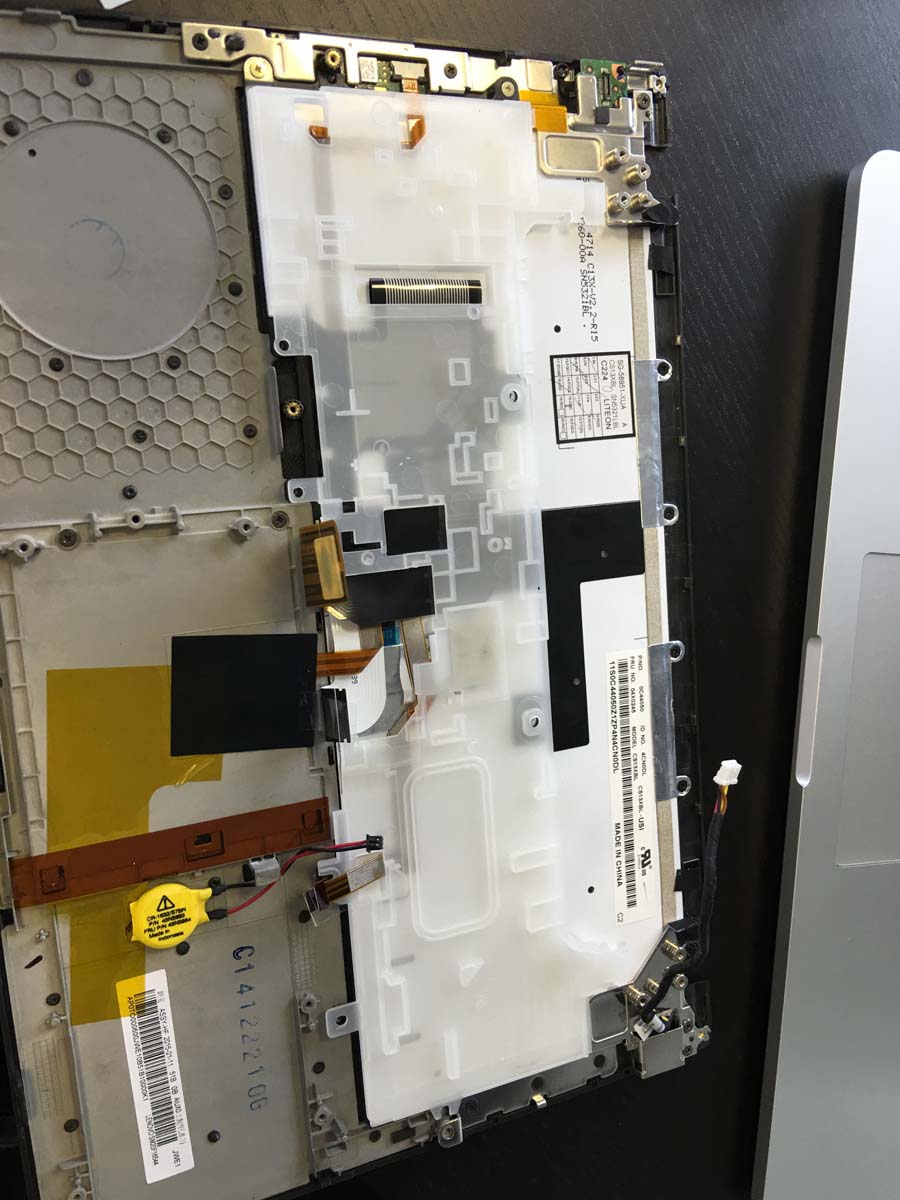
In limbo:
Old keyboard:
All done: